So far, I’m loving my new laser cutter. Now that I’ve got the setting dialed in (and my ventilation system working properly), the xTool S1 laser cutter has proved itself quite capable. It’s kind of disorienting for a cutting job to take 5 minutes when you’re used to waiting 5 hours for a 3D print to finish!
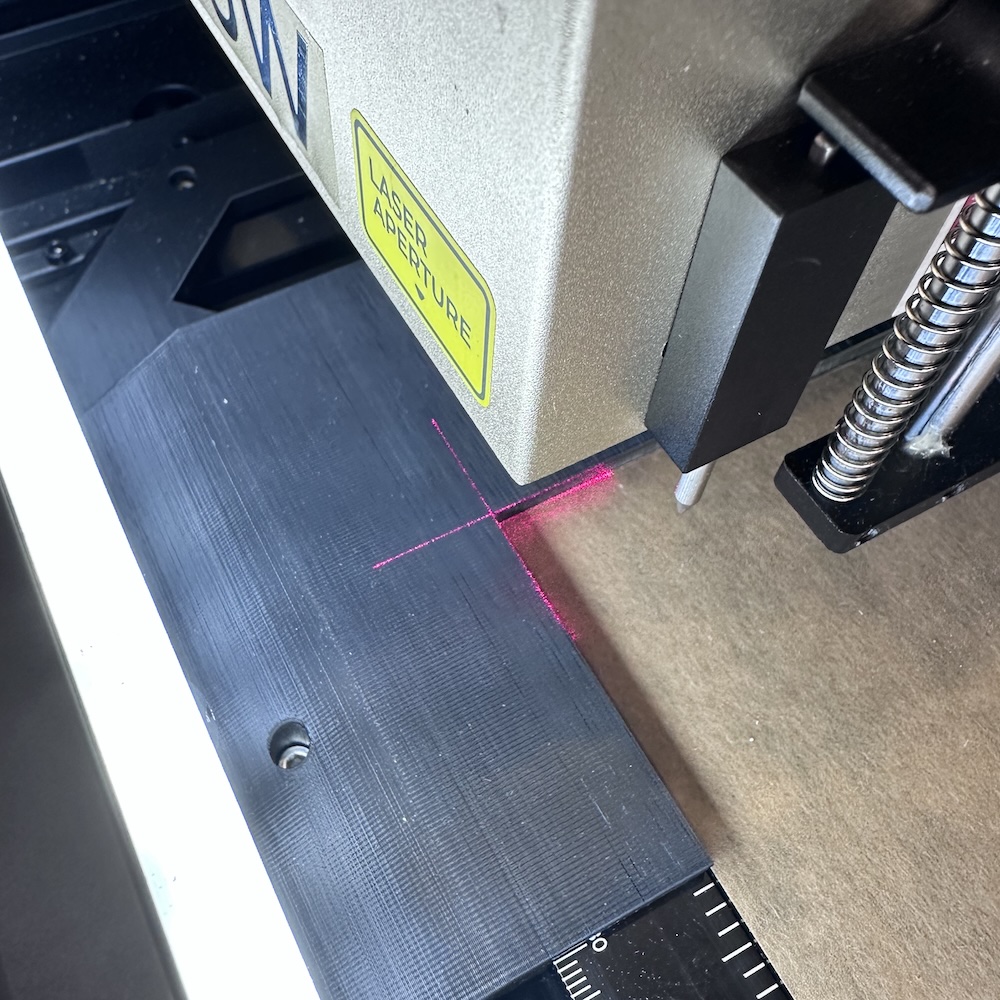 Use the laser crosshairs to perfectly zero the laser's position relative to the (now parallel) material.
Buy and Download
You can purchase the file to 3D print the xTool S1 Honeycomb Alignment Jig for $2 CAD.
Mine came with a nice honeycomb panel to reduce burn marks on cutting jobs. Its great, but for some very strange reason, there is no built-in way to ensure that the panel is aligned properly. It just kind of… sits in there. You can move it an inch or so in both directions, and there aren’t any parallel surfaces that you can press it against for alignment.
This becomes an issue when you’re engraving or cutting rectangular material and you need to ensure that your cuts are aligned with the material’s edges. For example, when engraving text on a rectangular board, you don’t want the word to look crooked!
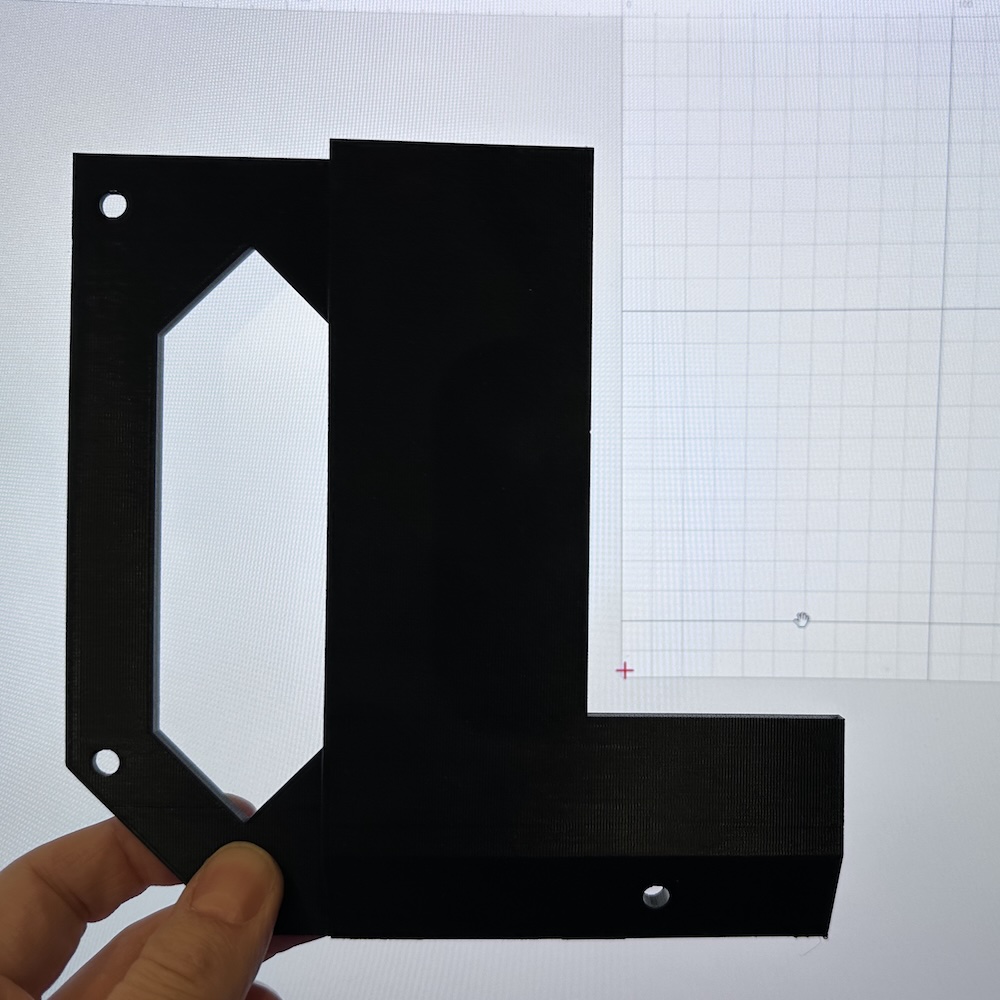
With much trial and error, I made this alignment jig. It uses three of the bolt heads inside the cutter to affix itself, and its underside conforms to the contours of the honeycomb jig. With a little jiggling, you’ll feel everything drop into place.
Once in place, keeping your material square is a breeze. The inner corner of the jig is exactly 1 inch right of the honeycomb’s left side, and zero inches from its bottom. This ensures that any material you put in the machine stays within the laser’s travel boundary.
This jig can be printed on most 3D printers using PLA, with no supports.